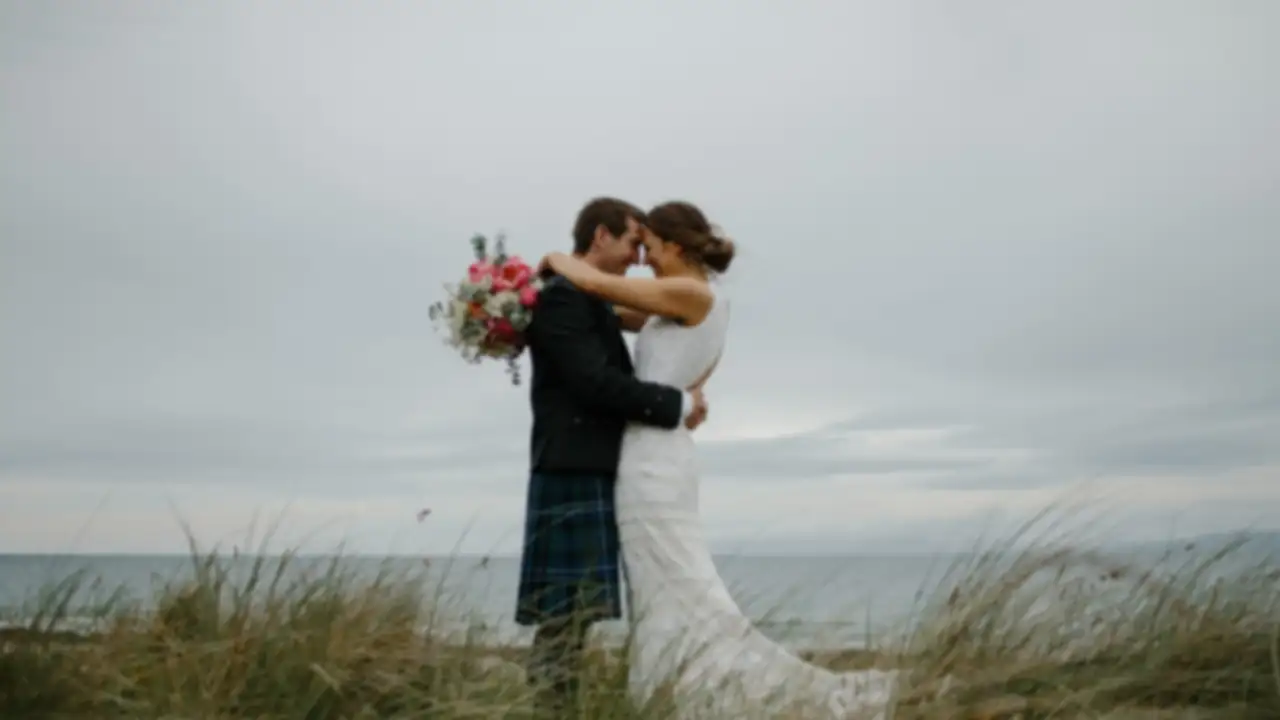

Sunday morning, and you're tired in the good way. Yesterday you stood twelve hours in the front row of two strangers' lives: the look as the church doors opened, the trembling hands at the ring exchange, the tear the father of the bride tried to wipe away, the first dance in candlelight. Now the memory cards are in front of you, plus maybe the ones from your second shooter – around four thousand RAW files, and somewhere in there is the most beautiful day in two people's lives. The couple wants a first preview by Friday. Five days for cull, edit, album pre-selection. You take a deep breath: with the right workflow this is doable. With the wrong one, a lost weekend.
For wedding photographers that's just normal. The difference between a relaxed Sunday and a marathon isn't the camera – that was yesterday's job. It's the order you do things in.
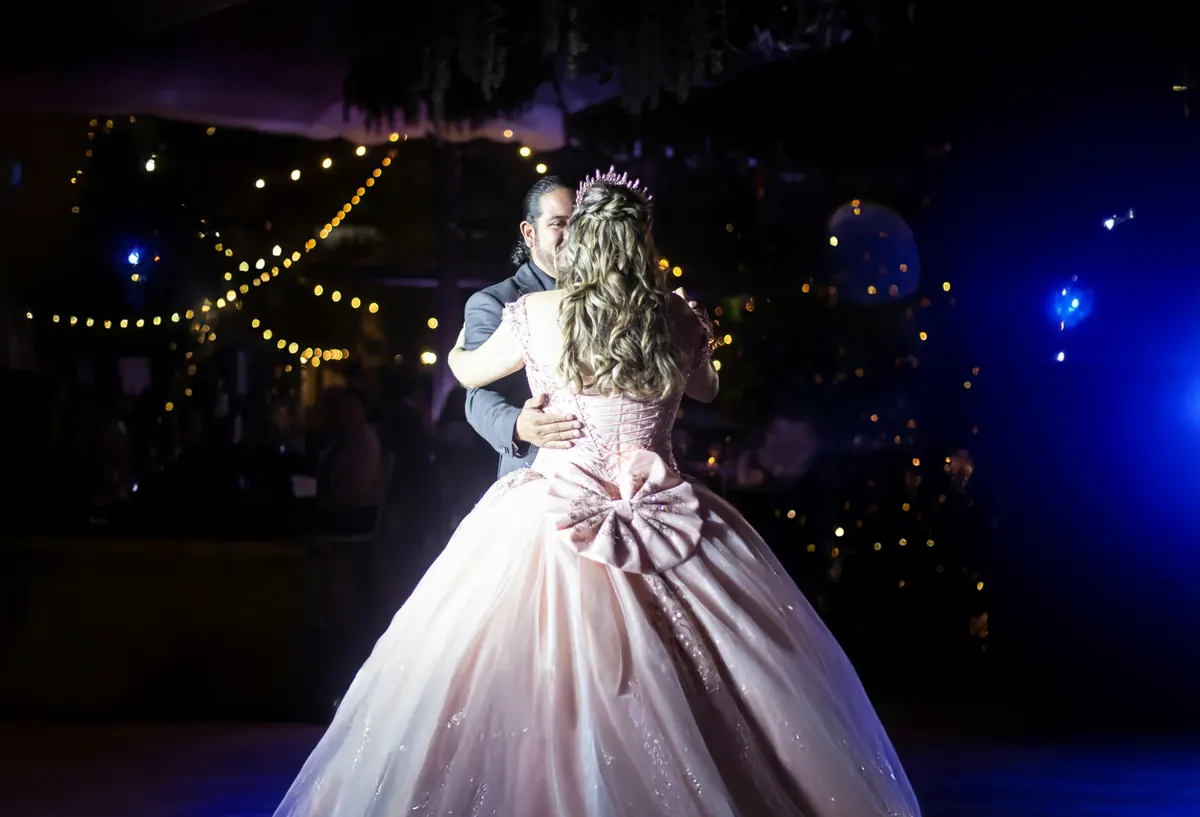
Yesterday: twelve hours on the edge of chaos
Because yesterday was pure emergency mode, from the first minute. You were already there at the makeup, in a room with no space to shoot – people everywhere, you in the way everywhere, the bed a mountain of dress, veil and shoe boxes. The caterer calls, something's missing. On the drive to the church the groom realizes he forgot the rings – so back again, and the clock is already running. The ceremony before yours drags on, everyone gets nervous, you too, because the couple portraits still come after and the time is melting away. And over all of it the one question nobody says out loud: will the weather hold? The forecast says rain.
In between, you shoot – from awkward angles so you don't just get the guests' backs, in half-dark where a single fat spotlight blows out everything and the rest sinks away. You hold the shutter, in bursts, because a laugh, a tear, a kiss can't be repeated. By the end of the day: four thousand frames. And now, Sunday morning, the second, quiet part of the job begins – the one that decides whether your Sunday off survives.
Why RAW – and nothing else
A wedding is no studio. The church sits in mixed light, the ceremony in half-dark, the sunset throws hard contrasts at you, the first dance plays out in candlelight and haze. And each of those moments happens exactly once – there is no „once more, please". If the exposure isn't perfect, the highlights and shadows come back only from the RAW; a JPEG threw those reserves away long ago. Which is why nothing else is on the table here.
The catch: an eight-to-twelve-hour day delivers two to four thousand RAWs, reportage style with burst mode sometimes six – and RAW culling is sluggish in most programs because every image is re-rendered. Start that way and you'll still be on the first third by Sunday evening. The way out is the trick your camera has been giving you all along: inside every RAW sits a finished JPEG, and FlashView shows exactly that (why that changes everything). The real rendering you keep for the few hundred images you actually develop.
The pile, in three stages
Before you start, the cards move into a folder – copied by hand, or you let FlashView do the offload itself and drop the shots into date folders. Then you open the folder and work the pile in clearly separated stages – not because it's more comfortable, but because each stage demands a different kind of focus.
Stage 1 – the rough cut. Brain off, arrow key hot. Eyes shut, motion blur, three identical burst frames in a row – all of it goes with an X, at most one second per image. Auto-advance (Caps Lock) on, so the rhythm never stalls: after each reject the next frame is already there, a misfire goes back with Ctrl+Z. Four thousand become two and a half thousand in half an hour – the same round with RAW rendering on every click costs you two or three hours.
Stage 2 – the fine cut. Brain on now. Per scene – ceremony, drinks reception, dance – the one best version. And sharpness is decided on the eye, not by gut feeling: where two burst frames look nearly identical, you lay them side by side with C, one side as reference, and pick the one where the eyes are open and the focus sits – you only see that at 1:1. Stars or pick, on.
Stage 3 – the album selection. Eight hundred become eighty for the album and a few hundred for the gallery. This is where the couple comes in for the first time – more on that in a moment. Everything up to here was preparation, so that in the end you don't present four thousand images but eight hundred pre-sifted ones.
Photographers with a few hundred weddings in their fingers often collapse the first two stages into one confident pass and land almost by themselves at a similar count every time. If you don't have that instinct yet, the separated stages are the safer bet. Both are right; FlashView is the speed tool either way.
Two cards, one timeline
The detail many get stuck on: with a second shooter you don't have one pile but two – separate cards, separate timelines, the same day. In FlashView you open both recursively with depth 0 and sort by date, and suddenly the complete timeline of both photographers runs in one single flowing view: your ceremony shot, a second later her detail of the same moment, right next to each other. The day reassembles itself, the way it actually happened.

One prerequisite: the camera clocks have to be in sync from the start of the job, to within a second or two. Cameras drift – over a few weeks two bodies can easily run twenty seconds to a minute apart, and that's already enough to file her detail shot ahead of the scene it belongs to. So sync the clocks once at the start, and the timeline holds.
When the couple gets a say
Up front: not everyone involves the couple at all. Plenty cull entirely solo and hear at most a „you decide, we trust you" – perfectly legitimate. But if you do want them involved, you know the friction point: you upload a preview gallery, the couple sends its favorites by WhatsApp („Image 0034, 0067, 0089 …"), and you type the numbers into Lightroom by hand. Something is lost at every handoff.
With Nextcloud and StarRate it becomes a two-way street: the couple rates in the browser themselves, no account, and the stars and picks land directly in the JPEG as XMP. You then do your photographic pass on the same file, see their ratings, add your own – the overlap is the album selection. The full story is in the Nextcloud photo workflow.
Where time leaks – and where the real work begins
Two mistakes cost the most. The first: running everything through Lightroom. With four thousand RAWs you pay an hour of catalog tax before you even make your first cull click – building previews, updating the index. Pull the cull out of Lightroom and you save that hour and later see only the sorted material there. The second: culling too timidly. Every decision you push out of stage 1 costs you double in stage 2, because the undecided set runs through again every time.
In practice it comes down to one of two routes. Either FlashView first, then Lightroom: cull, filter by reject, delete the discards straight off the disk (Lightroom can't filter by stars at import) and only import the lean remainder. Or Lightroom import first, cull in parallel in FlashView on the same folder, then a „Read Metadata from File" in Lightroom – and your ratings are instantly there. Either way: the real wedding work – editing, retouch, export – you do afterwards in Lightroom, but only with the images that earned their way there.
What's left in the end

Friday. The preview goes out, and a few hours later the message you do all of this for arrives: „We cried. That's us." And yes – the weather held. Four thousand frames have become a few dozen that really tell the day – not the mass, but the moments. And your weekend is yours again, without a worked-through Sunday.
The wedding happens only once. The culling has to be fast – so that your energy flows into the images that last, and not into the pile it all began with.
If you'd like to try FlashView for that, it's at flashview.net.